Asbestos Garage Cladding Removal in Auckland – The Correct Class B Process Under NZ Law
Asbestos Garage Cladding Removal – What a Proper Job Actually Looks Like
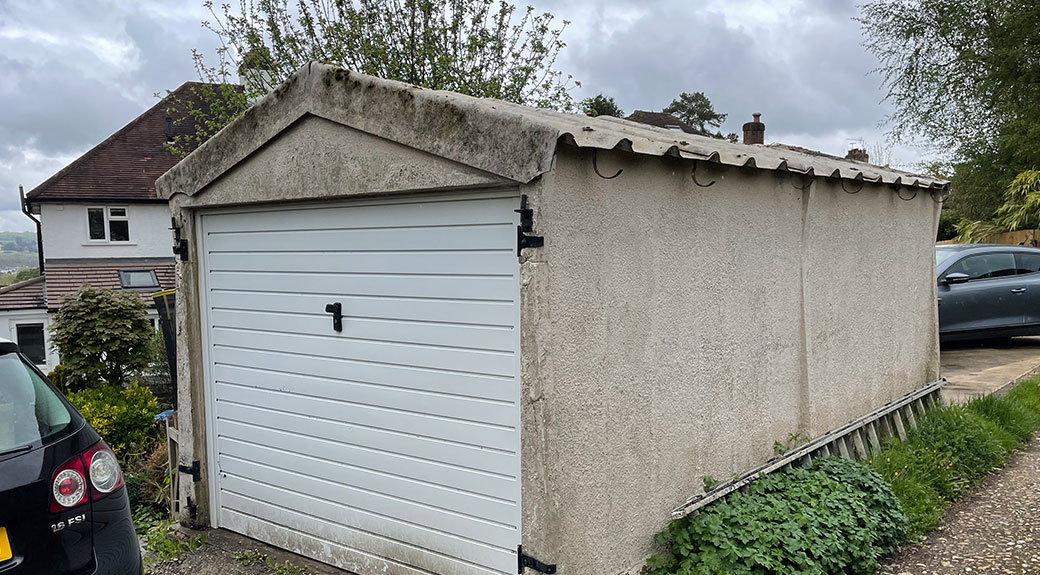
Detached garages are asbestos time capsules. Old flat sheets. Weathered fibre-cement panels. Cracked corners where bikes, bins, and lawnmowers have clipped the wall for decades.
If your garage was built or reclad before the late 1980s, there’s a very real chance the cladding contains asbestos cement, which makes removal Class B asbestos work under New Zealand law.
This isn’t demolition. It’s not “just cladding”. It’s controlled hazardous-materials removal.
Below is a step-by-step Safe Work Procedure, written in plain, unvarnished language, showing how a professional asbestos removalist like PropertyHelp Ltd removes asbestos garage cladding lawfully, cleanly, and without contaminating your section, in line with the Health and Safety at Work Act 2015 and the Asbestos Regulations 2016.
Why Garage Cladding Is Often More Dangerous Than House Cladding
Garage cladding is frequently:
- Brittle from sun exposure
- Cracked near the base from moisture and impact
- Covered in layers of old paint
- Removed late in renovations, when patience is thin
Once asbestos cladding snaps, fibres don’t disappear — they drop into soil, sit in dust, and wait. That’s how small jobs turn into expensive clean-ups.
The Legal Reality (No Sugar-Coating)
Under NZ law:
- Removing asbestos cement cladding is Class B asbestos removal
- Fibre release must be prevented, not dealt with afterwards
- Workers must be trained and competent
- Poor handling can expose homeowners to liability, even if a mate “helped out”
Asbestos mistakes don’t come with warning sirens. They come with long-term consequences.
Step-by-Step Safe Work Procedure – Garage Asbestos Cladding

5
Step 1: Confirm the Material (Assume Until Proven Otherwise)
Before any tools touch the wall:
- Garage cladding is assumed asbestos cement unless testing proves otherwise
- Condition is checked for cracks, delamination, or soft edges
- The removal method is planned to keep sheets whole
Hope is not a control measure.
Step 2: Set Up the Site Like It Matters
A safe job starts before removal:
- Exclusion zones are set around the garage perimeter
- Asbestos warning signage is installed
- Vehicles, pets, and people are kept well clear
- A clear path for waste handling is planned
If someone can walk past brushing your elbow, the setup has failed.
Step 3: PPE Goes On Before Contact
Before touching cladding:
- Disposable asbestos coveralls (Type 5/6)
- Fit-tested P2 or P3 respirator
- Gloves and eye protection
- Controlled footwear or disposable boot covers
This isn’t paranoia. It’s compliance.
Step 4: Wet the Cladding
Dry asbestos is airborne asbestos.
Cladding sheets are:
- Lightly misted using low pressure
- Kept damp throughout removal
- Never sanded, scraped dry, or water-blasted
Water keeps fibres locked down.
Step 5: Remove Fixings by Hand
This is slow work — on purpose.
- Screws or nails are removed by hand only
- No grinders, drills, or impact tools
- If a fixing won’t come free, the method changes — the sheet doesn’t get forced
Force breaks sheets. Broken sheets break the law.
Step 6: Lift Sheets Whole
Cladding sheets are:
- Lifted off framing carefully
- Supported to avoid flexing
- Lowered intact — never dropped or folded
If a sheet cracks, work stops immediately.
Step 7: Wrap, Seal, and Label Immediately
As soon as a sheet is down:
- Wrapped in 200-micron plastic
- Fully sealed with tape
- Labelled as asbestos waste
- Stored securely away from access points
Loose asbestos is how contamination walks off site.
Step 8: Decontaminate Before Leaving
Before anyone clocks off:
- Tools are wet-wiped
- PPE is removed in the correct sequence
- Disposable PPE is treated as asbestos waste
- Hands and face are washed thoroughly
No one leaves carrying fibres home.
Step 9: Final Inspection and Site Handover
The job isn’t finished until:
- All visible debris is removed
- The garage slab and surrounding ground are clean
- Warning signage is removed safely
- The area is handed back uncontaminated
Why DIY Garage Asbestos Cladding Removal Usually Ends Badly
Garage walls look manageable. Asbestos isn’t.
DIY removals often result in:
- Cracked sheets
- Fibres in soil and driveways
- Neighbour complaints
- WorkSafe involvement
- Clean-up costs that exceed professional removal
Using an experienced asbestos removalist like PropertyHelp Ltd means:
- The work is legal
- The risk is contained
- Your property stays sale-ready
- You don’t inherit a contamination problem that never fully goes away
Final Word
Asbestos garage cladding removal isn’t about being careful — it’s about being methodical, slow, and boring. That’s what keeps asbestos fibres out of the air and out of your future.
If your garage cladding looks old, cracked, or suspicious, assume asbestos until proven otherwise — and deal with it properly the first time.
Make Enquiry