Asbestos Removal in Auckland: What It Really Costs, Why It’s Risky, and What the Law Actually Demands
Asbestos Removal in Auckland: Costs, Risks, and Legal Requirements (The Unpolished Truth)
Asbestos hasn’t gone anywhere. It’s still bolted to garages, buried in fences, lining soffits, and clinging to old roofs all over Auckland. The only thing that’s changed is the tolerance for getting it wrong — which is now basically zero.
This blog lays out, in plain terms, what asbestos removal in Auckland actually involves, what it really costs, why the risks are often misunderstood, and what the Health and Safety at Work Act 2015 and the Asbestos Regulations 2016 require. No scare campaigns. No technical waffle. Just how it works in the real world.
Why Auckland Still Has an Asbestos Problem
Auckland grew fast during the asbestos era. From the 1940s through to the late 1980s, asbestos cement was cheap, strong, and everywhere. Fences, garages, sheds, cladding, roofs — if it was meant to last, asbestos probably got involved.
Most of that material is now at the end of its life. Sun, moisture, ground movement, and renovations have done their damage. The risk isn’t asbestos sitting there quietly — it’s asbestos being disturbed.
The Real Health Risk (Not the Hollywood Version)
Asbestos doesn’t announce itself. There’s no smell. No burning lungs. No warning sign that flashes when fibres go airborne.
The danger comes from:
- Breaking or cracking old asbestos materials
- Dry handling that releases invisible fibres
- Fibres settling into soil, dust, and indoor spaces
The diseases linked to asbestos exposure don’t show up next month. They show up 20 to 40 years later. By then, the “it was only a small job” argument doesn’t carry much weight.
What the Law in New Zealand Actually Says
Under the Health and Safety at Work Act 2015 and the Health and Safety at Work (Asbestos) Regulations 2016, asbestos removal is not a casual activity.
In practical terms, the law requires that:
- Risks from asbestos are eliminated or minimised so far as reasonably practicable
- Asbestos work is planned and controlled
- People doing the work are trained and competent
- Asbestos waste is handled, labelled, transported, and disposed of correctly
For most real-world jobs, especially anything involving cladding, fences, garages, or roofs, this falls under Class B asbestos removal.
DIY is legally narrow, practically risky, and often misunderstood.
How Much Does Asbestos Removal Cost in Auckland?
This is the question everyone wants answered first — and usually with crossed fingers.
While every site is different, Auckland asbestos removal costs are driven by:
- The type of asbestos material
- Its condition (intact vs brittle)
- Access and proximity to neighbours
- Waste handling and disposal
- The level of control required to prevent fibre release
Small, straightforward jobs may sit in the low thousands. Larger or more complex removals climb quickly. What most people don’t budget for is the cost of fixing a job that went wrong — contamination clean-ups are where the real money disappears.
How Asbestos Removal Should Actually Be Done (Step-by-Step)
5
Step 1: Assume Asbestos Until Proven Otherwise
If it looks old and fibrous, it’s treated as asbestos. Testing can confirm it — but planning starts on the assumption that breakage is not an option.
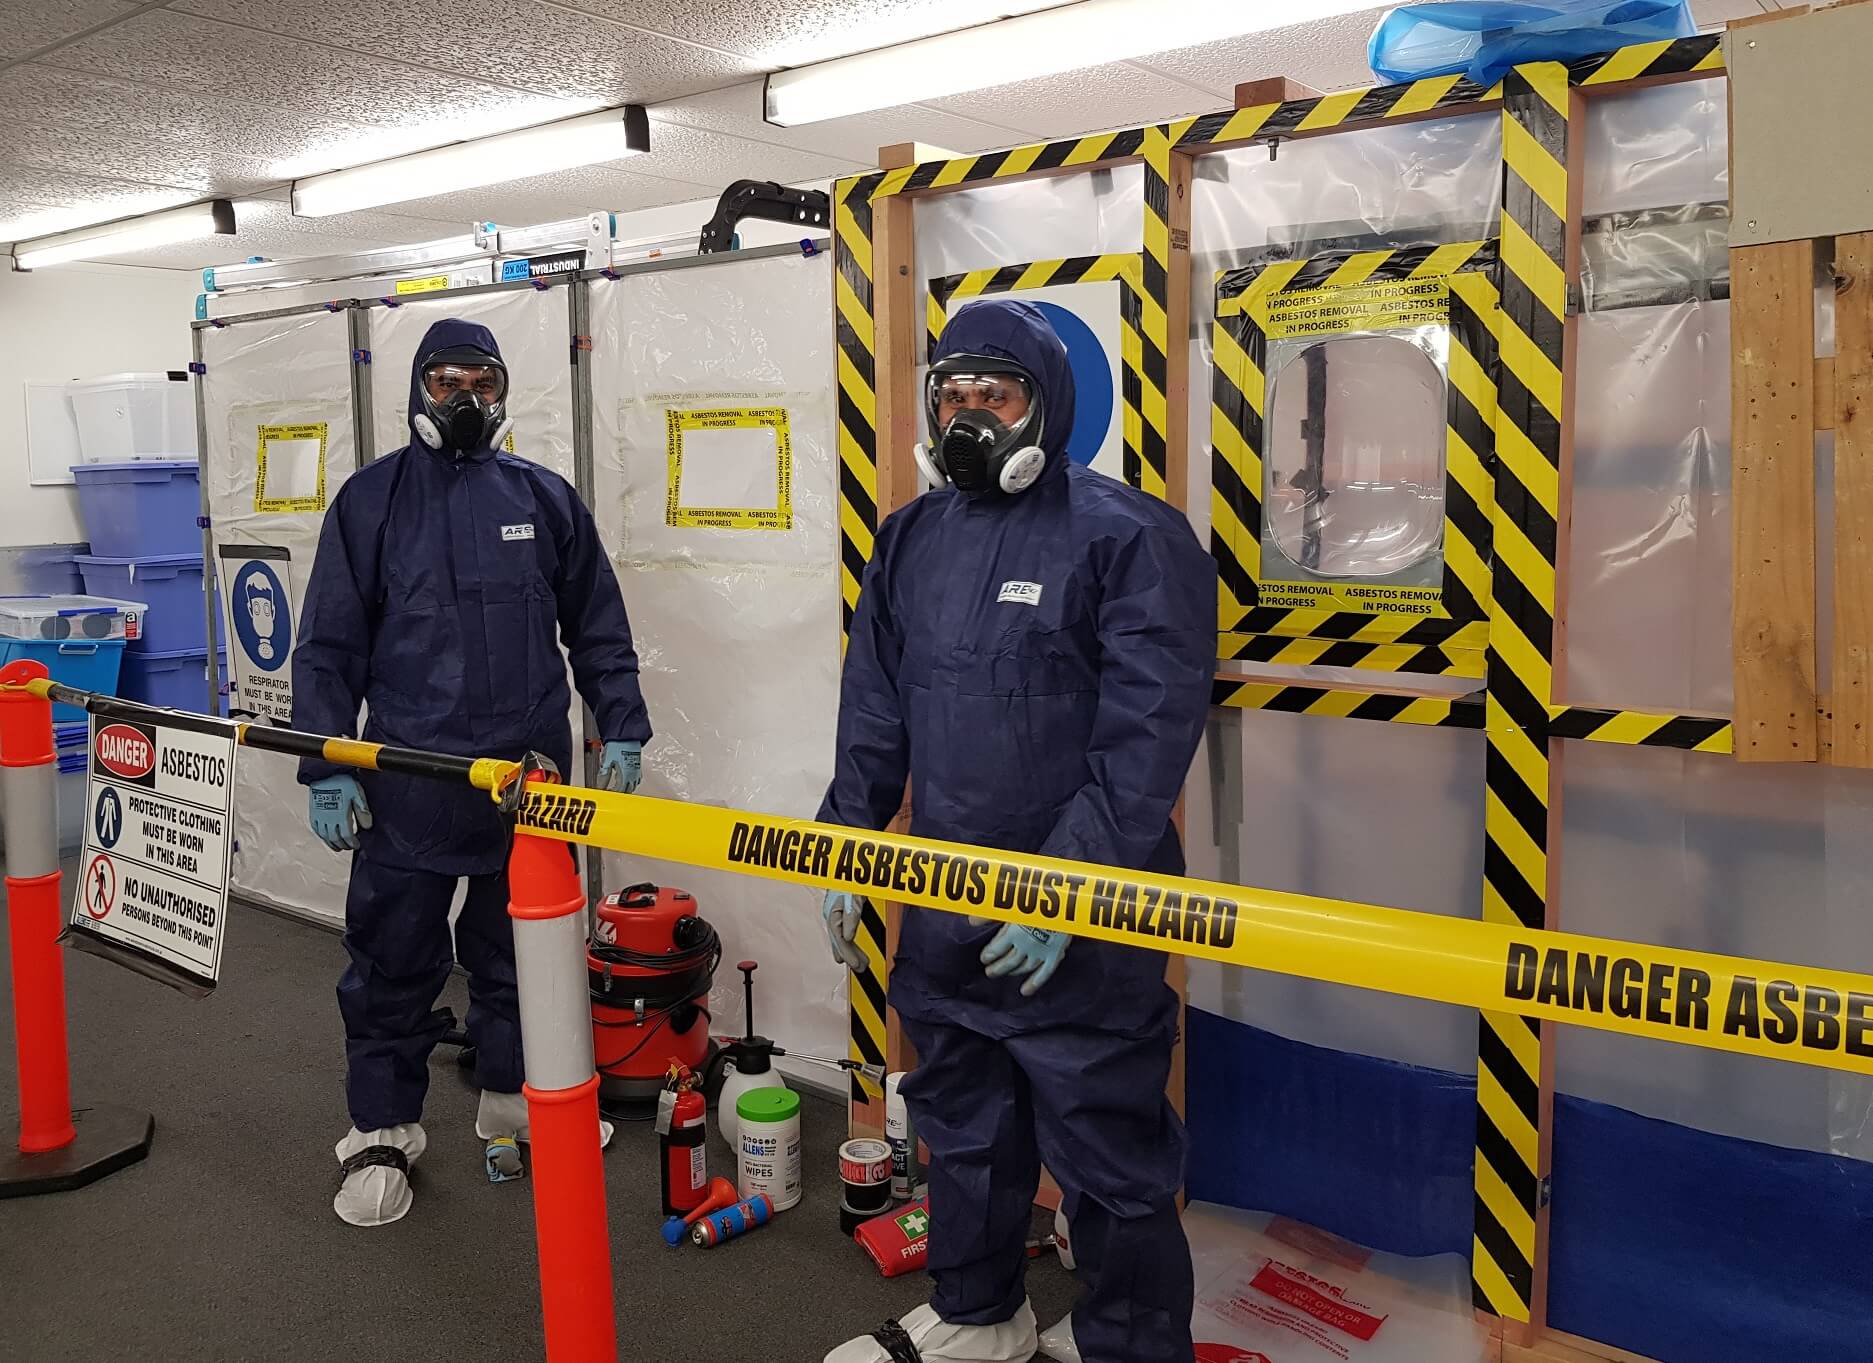
Step 2: Lock Down the Work Area
- Exclusion zones are set up
- Warning signage goes up
- People, pets, and vehicles are kept clear
If the public can wander through the work area, the setup has already failed.
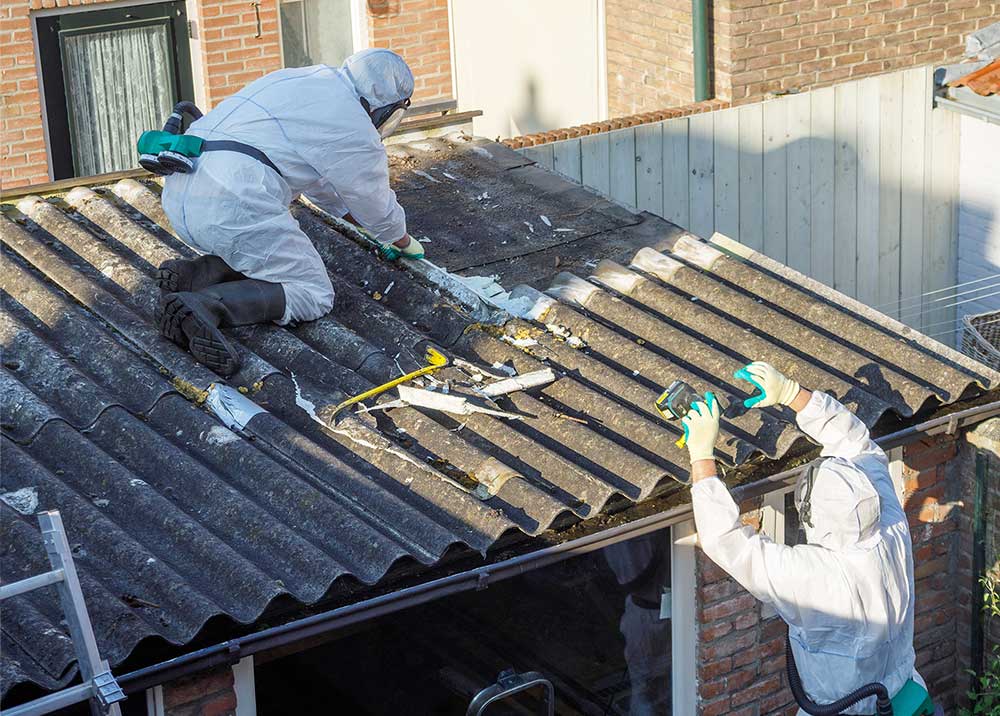
Step 3: PPE Is Non-Negotiable
Workers wear:
- Disposable asbestos coveralls
- Fit-tested P2 or P3 respirators
- Gloves and eye protection
This isn’t gold-plating — it’s the baseline.
Step 4: Wet Methods Only
Dry asbestos is dangerous asbestos.
- Materials are lightly misted
- Dust is suppressed at the source
- No sanding, grinding, or water-blasting
Step 5: Slow, Manual Removal
- Fixings removed by hand
- No power tools
- No rushing
Speed breaks materials. Broken materials release fibres.
Step 6: Immediate Wrapping
Removed material is:
- Wrapped in 200-micron plastic
- Fully sealed and labelled
- Stored securely for transport
Loose asbestos waste is how contamination spreads.
Step 7: Decontamination
Tools are wet-wiped. PPE is removed in the correct order. Disposable gear becomes asbestos waste. No one leaves dusty.
Step 8: Final Inspection
The site is checked visually before being handed back. No fragments. No shortcuts.
Why DIY Asbestos Removal Often Backfires
Most DIY asbestos jobs fail the same way:
- One cracked sheet
- Fibres in soil or dust
- A neighbour notices
- WorkSafe gets involved
- A professional clean-up is suddenly required
That’s why many Auckland homeowners choose an experienced asbestos removalist like PropertyHelp Ltd Auckland — not because it’s exciting, but because it’s controlled, legal, and final.
Final Word
Asbestos removal isn’t about bravery or confidence. It’s about control, patience, and doing things slowly enough that nothing breaks.
If asbestos is part of your Auckland property, deal with it once — properly — and move on without leaving a problem behind for the next owner.
Make Enquiry